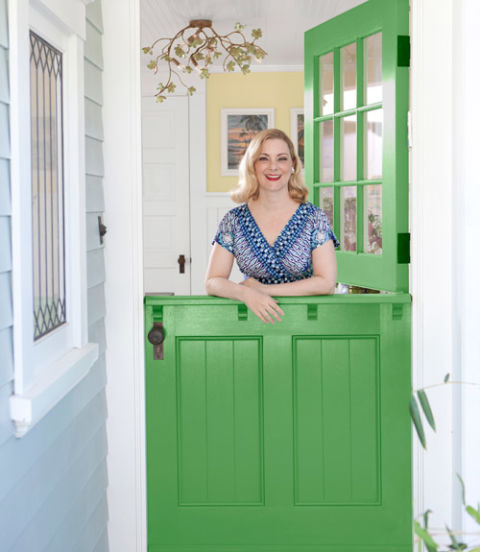
 |
| photo credit: http://www.countryliving.com |
So wifey found a wooden door at a vintage shop downtown. Unfortunately this door had around 8 - 10 layers of paint. I left the wife to handle the paint stripping and she purchased this paint stripper and began to go to work on the Dutch Door...gradually. Over the course of about 6 months.
This was a project that wouldn't go away so I decided to step in, after all it was taking up room in my shed. Instead of the paint stripper that seemed ton only take off one coat at a time, I went after the door with ceramic sanding belts like this.
Then the paint really started to fly! The only real problem was getting into all of the crevasses, which had to be done by hand, and I didn't really have the patience to do a perfect job with the hand sanding. A bit out of character for me, but I just wanted this Dutch Door project done. After cutting the door in half I made a ledge for the bottom half and added some custom corbels. Here is a shot of the work in progress.

After sanding the door down to a paintable finish, I decided to try out my air spayer. This sprayer in combination with my tiny compressor turned out to be an exercise in frustration. So lesson learned, if you want to use an air sprayer, you're going to need a big boy compressor that can keep up. The idea was to get some nice smooth coats with the sprayer and then maybe do a final coat with the brush. But the spray coats seemed to be enough, at least for now.
I'll post some updated pictures soon.


No comments:
Post a Comment